Deploy agent to Discord
Deployments are experimental and currently in private beta. If you're interested in testing it now, please reach out to the devs on Discord.
Users who have been granted access to the deployment beta will notice a "Deployments" section in each Agent's settings. Through this interface, you can deploy your agent to either Discord or Telegram.
To deploy your agent to Discord, follow these steps.
(1/3) Create application in Discord
You will first need to create a new application in the Discord Developer Portal.
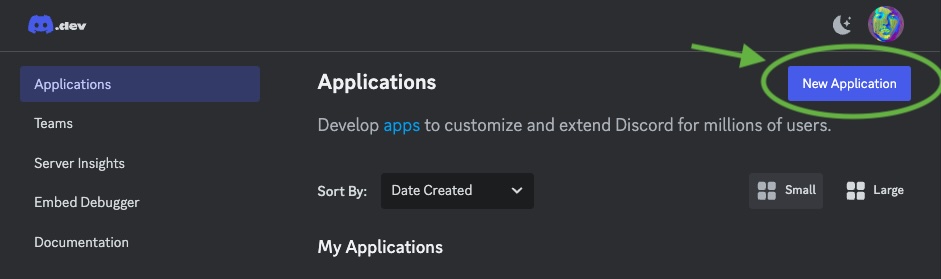
Select 'New Application'
Give your application a name (e.g. "My Agent") and click "Create". For convenience, you can give it the same name as your agent.
In "General Information" upload your agent's profile image to App Icon. Click 'Save' to save the changes.
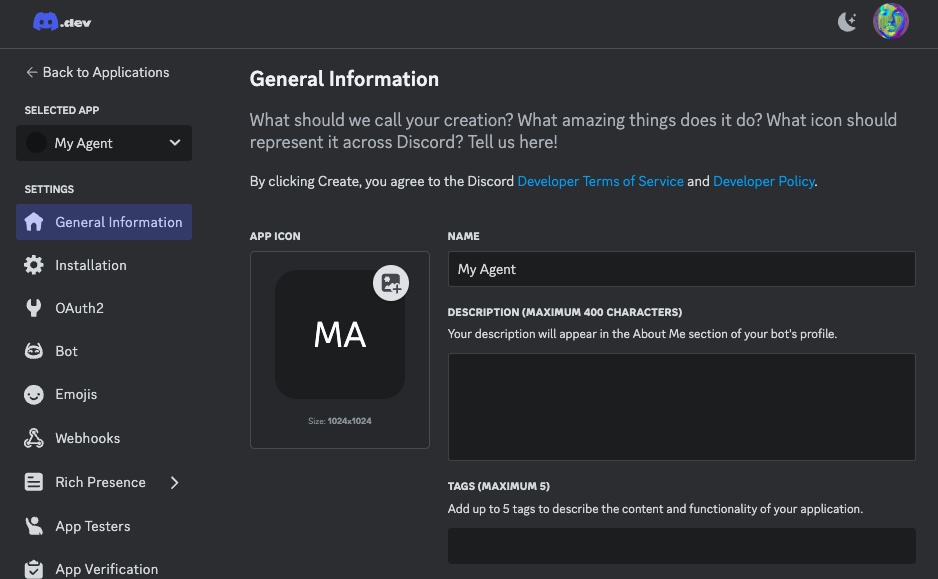
Discord deployment settings. Give it a profile image/
Now click "Bot" on the left sidebar to set up the bot.
Click "Reset Token" to generate a new token and copy it somewhere safe. In one of the next steps, you will need to paste this token into Eden.
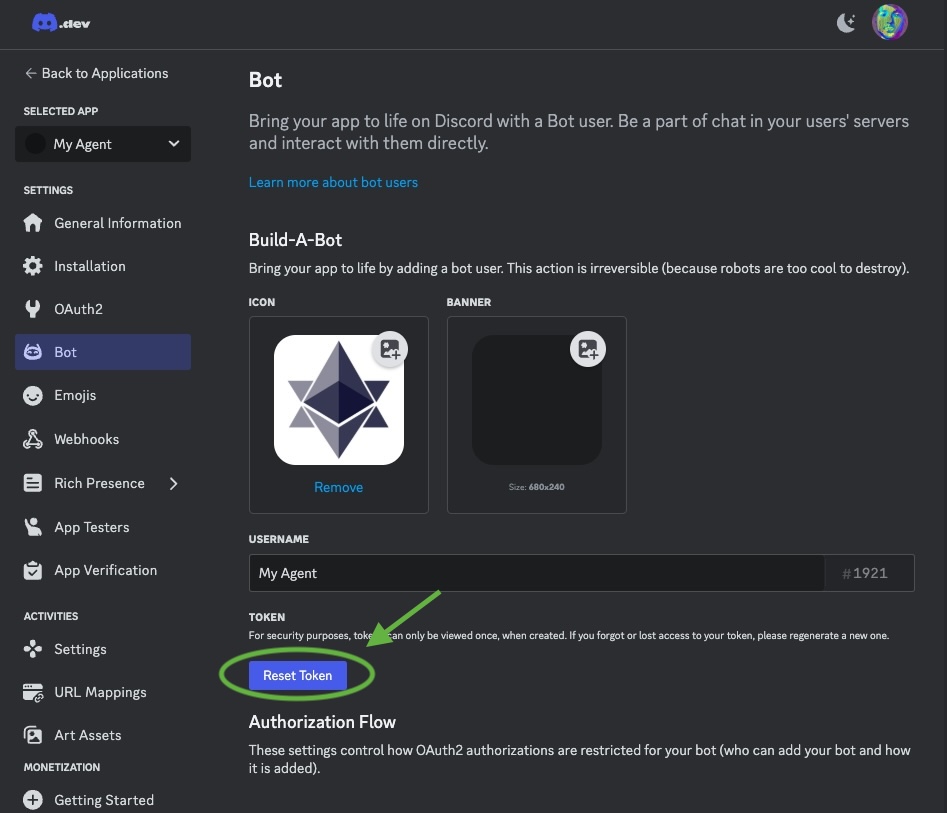
Click 'Reset Token' to generate a new token and copy it somewhere safe.
If you ever reset or revoke the token, your bot will stop working. You can always generate a new token and paste it again into Eden.
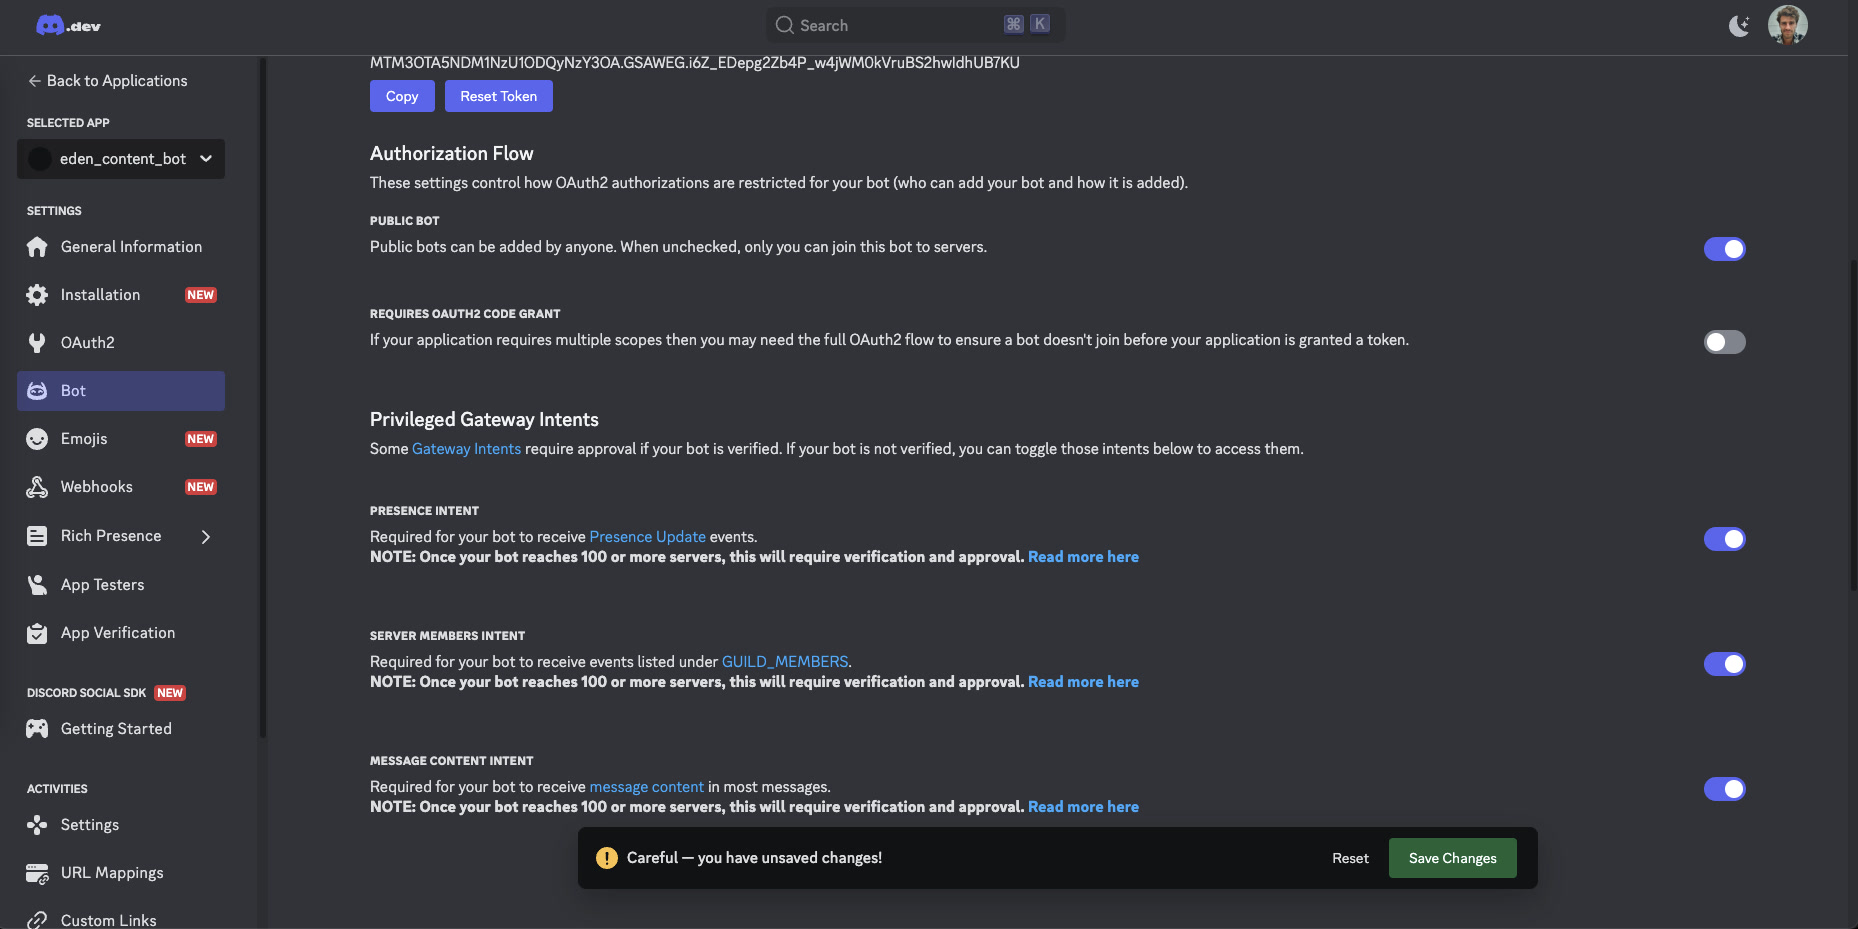
On the same page, scroll down to "Privileged Gateway Intents" and make sure to select the presence, server members, and message content intents. Your bot will not be able to send or receive messages without these permissions, so make sure to select them and click "Save Changes".
Allowlist
(2/3) Link the Discord bot to your Eden agent
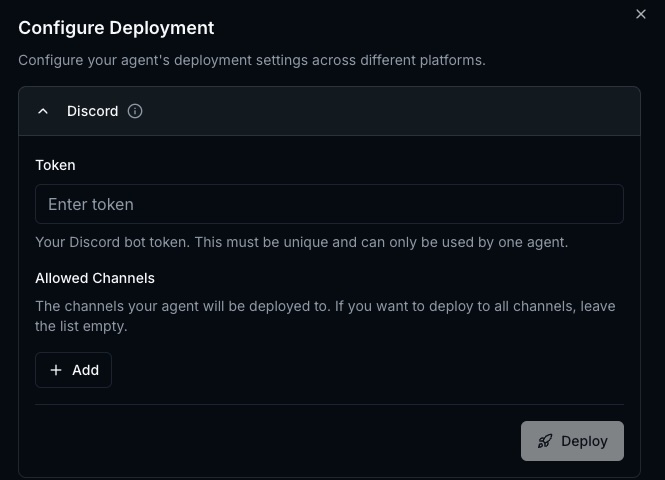
Now let's set up your agent in Eden. Go to your agent's deployment settings, select Discord, and paste the Discord Token you copied earlier into the "Token" field.
Select Bot scope.
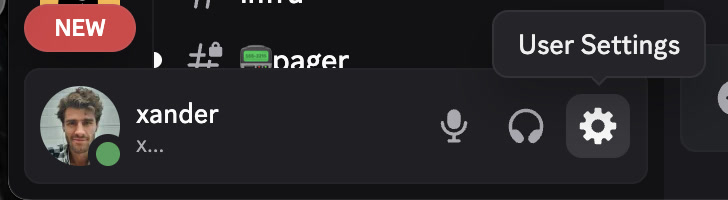
Next you'll have to setup which channels your agent will be active in. The easiest way to do this is to first activate "developer mode" in discord:
- Go to user settings:
Copy Channel ID. - Search for "developer" and activate the developer mode in advanced settings:
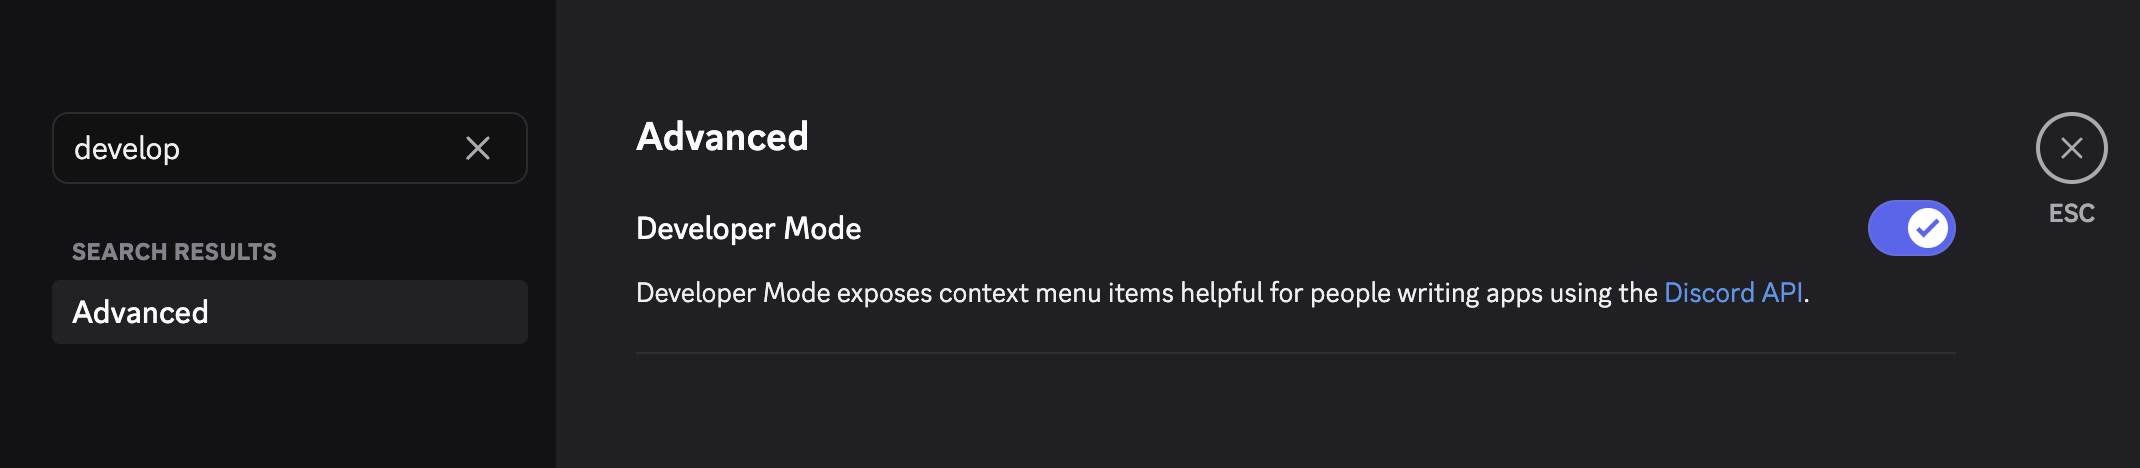
Copy Channel ID.
Finally, add channel IDs to "Allowed Channels" to permit your bot to post messages in that channel. To get the channel ID of any channel in Discord, right click the channel name in Discord and select "Copy ID" or "Copy Channel ID". It's good practice to add the channel name as a label so you remember later which ones you've already added.
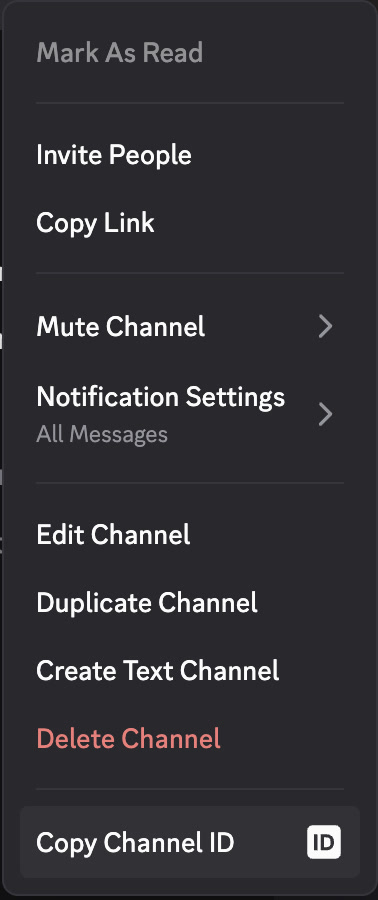
Copy Channel ID.
Once you're done, click "Deploy."
Once it's done, the deployments page will show the status of the deployment. If it is successful, you will now see a section that says "Invite Bot to Server". Click to copy this link, paste it into a browser, and add the bot to your server:
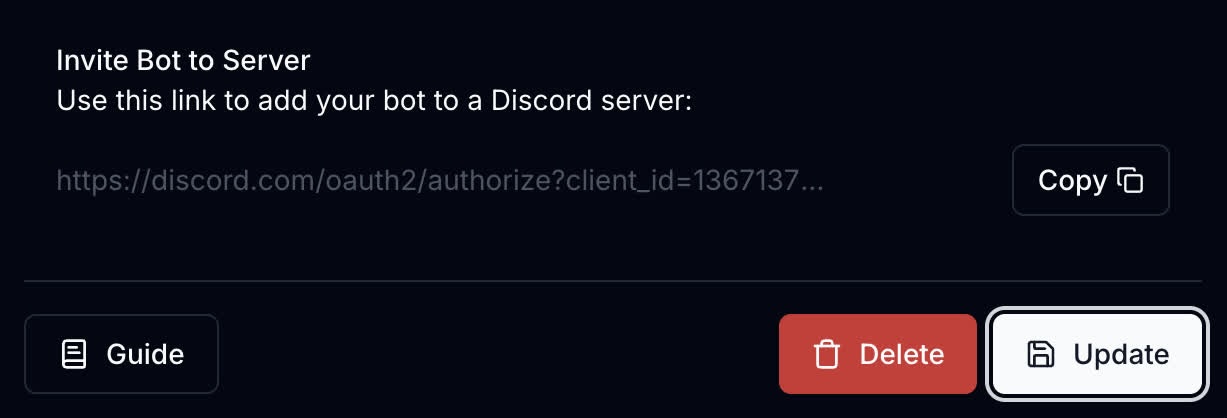
Click to copy this link, paste it into a browser, and add the bot to your server.
(3/3) Test your agent
If your deployment was successful, your bot will show as "Online" in the sidebar of your Discord server.
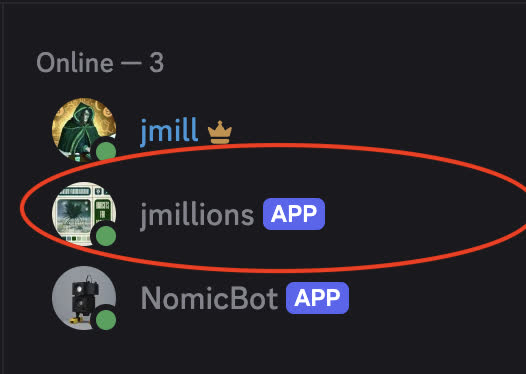
Your bot will show as 'Online' in the sidebar of your Discord server.
Go to one of the channels where the bot is allowed to send messages and try mentioning it in a message. If it responds, you're all set!
A common issue is allowlisting your bot to a channel where it does not have permission to send messages. If it doesn't respond, check the permissions of the channel and make sure the bot has "Send Messages" permissions.
Also, when deploying a bot to a private channel you may need to manually add it as a member in discord:
Right click the channel and click "Edit Channel":
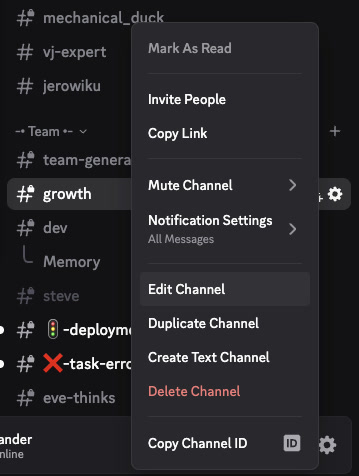
Edit channelGo to permissions and add members and add your bot:

Add permissions