
Deployments are experimental and currently in private beta. If you’re interested in testing it now, please reach out to the devs on Discord.
Setup Process
Create Discord Application
Create application in Discord
Go to the Discord Developer Portal and create a new application.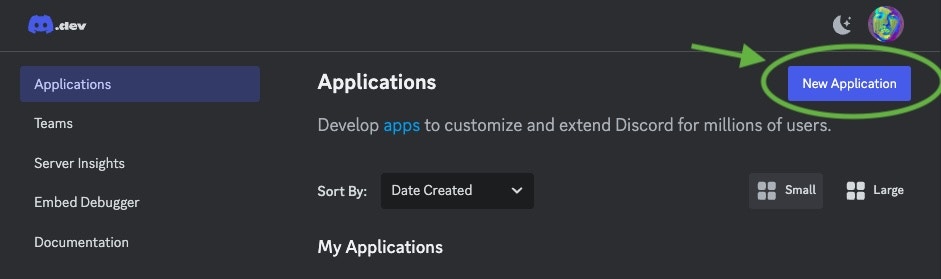
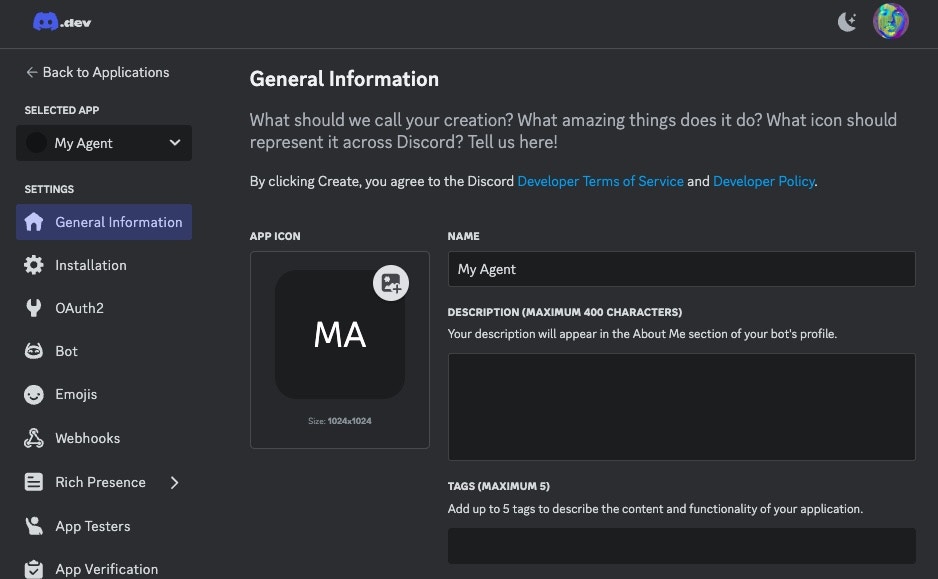
- Upload your agent’s profile image to App Icon
- Click ‘Save’ to save the changes
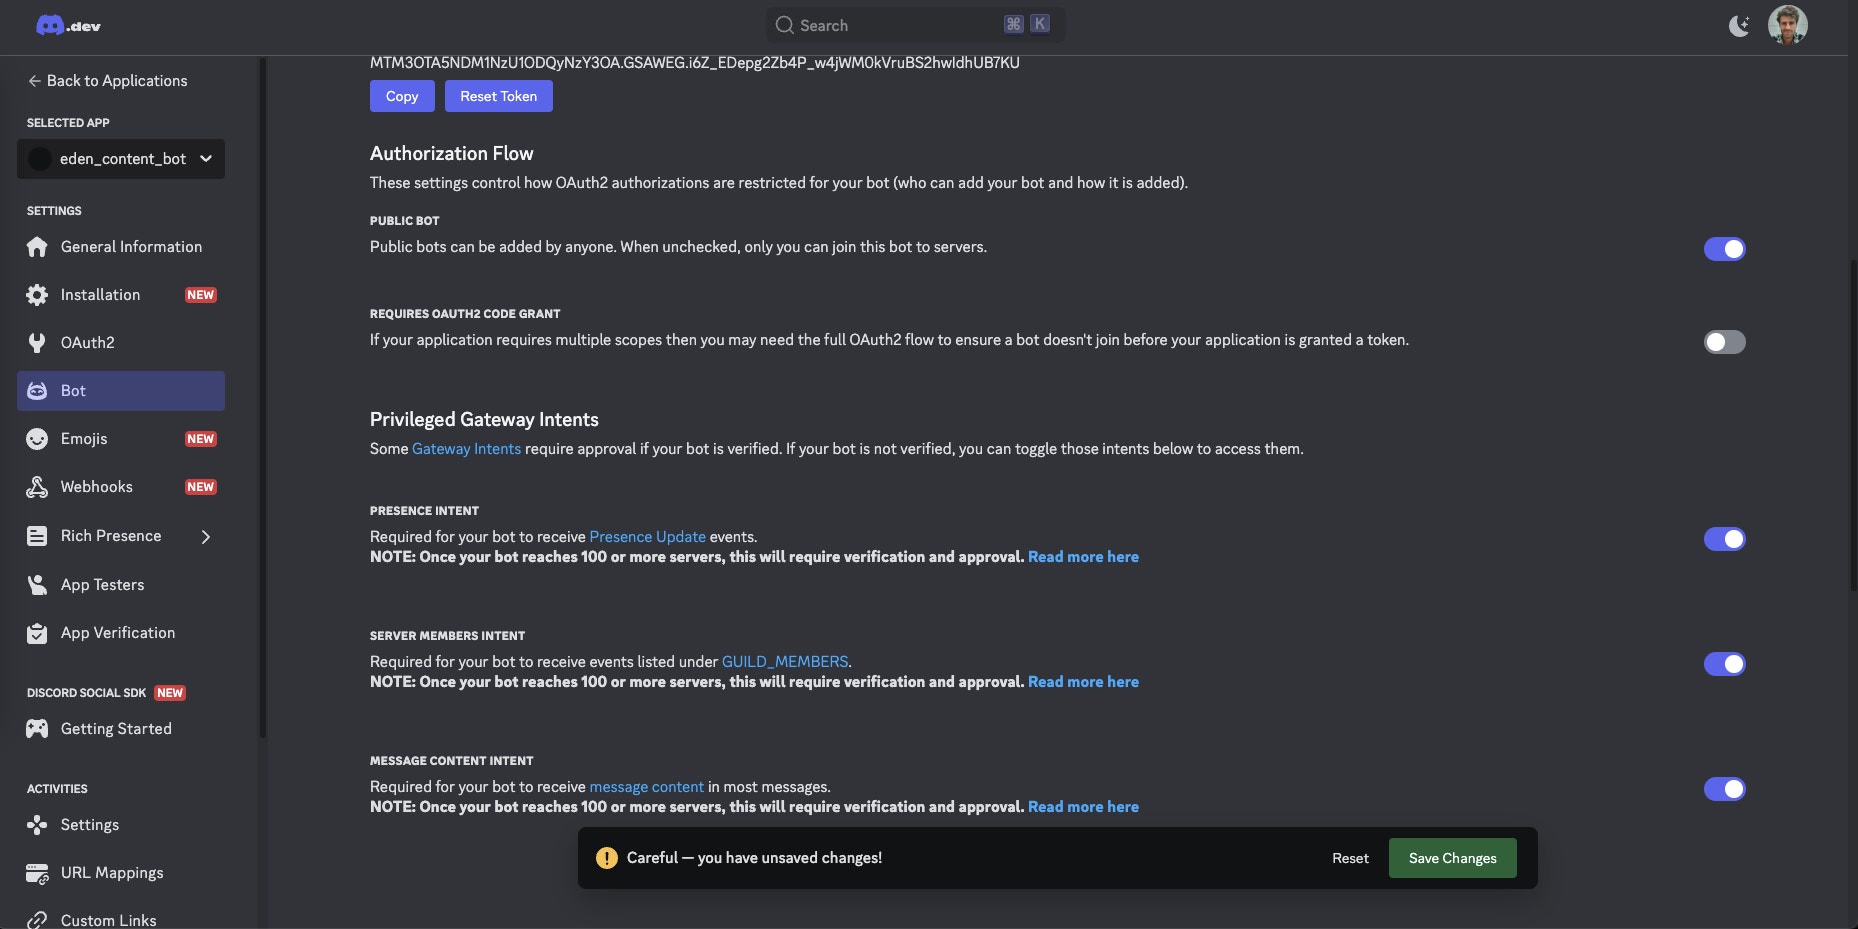
Configure Bot Settings
- Click “Bot” on the left sidebar
- Click “Reset Token” to generate a new token and copy it somewhere safe

- Scroll down to “Privileged Gateway Intents” and enable:
- Presence Intent
- Server Members Intent
- Message Content Intent
Link Bot to Eden Agent
Configure Eden Deployment
Go to your agent’s deployment settings in Eden:- Select Discord
- Paste the Discord Token you copied earlier
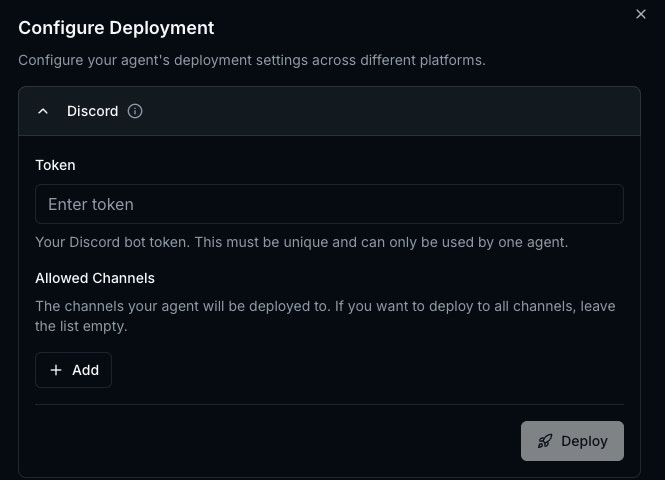
Set Up Allowed Channels
You need to set up specific channels that your bot is allowed to access. The ‘Allowed Channels’ field is a list of channels your agent will be able to read and post to, and ‘Read Access’ is a list of channels your agent will be able to read from (but not post to).The note field is a description of the channel that would be helpful for you to give to your agent to tell it where to read or post. A good note is something like “AI Server - General Chat”, “Company Server - Marketing Channel”, etc.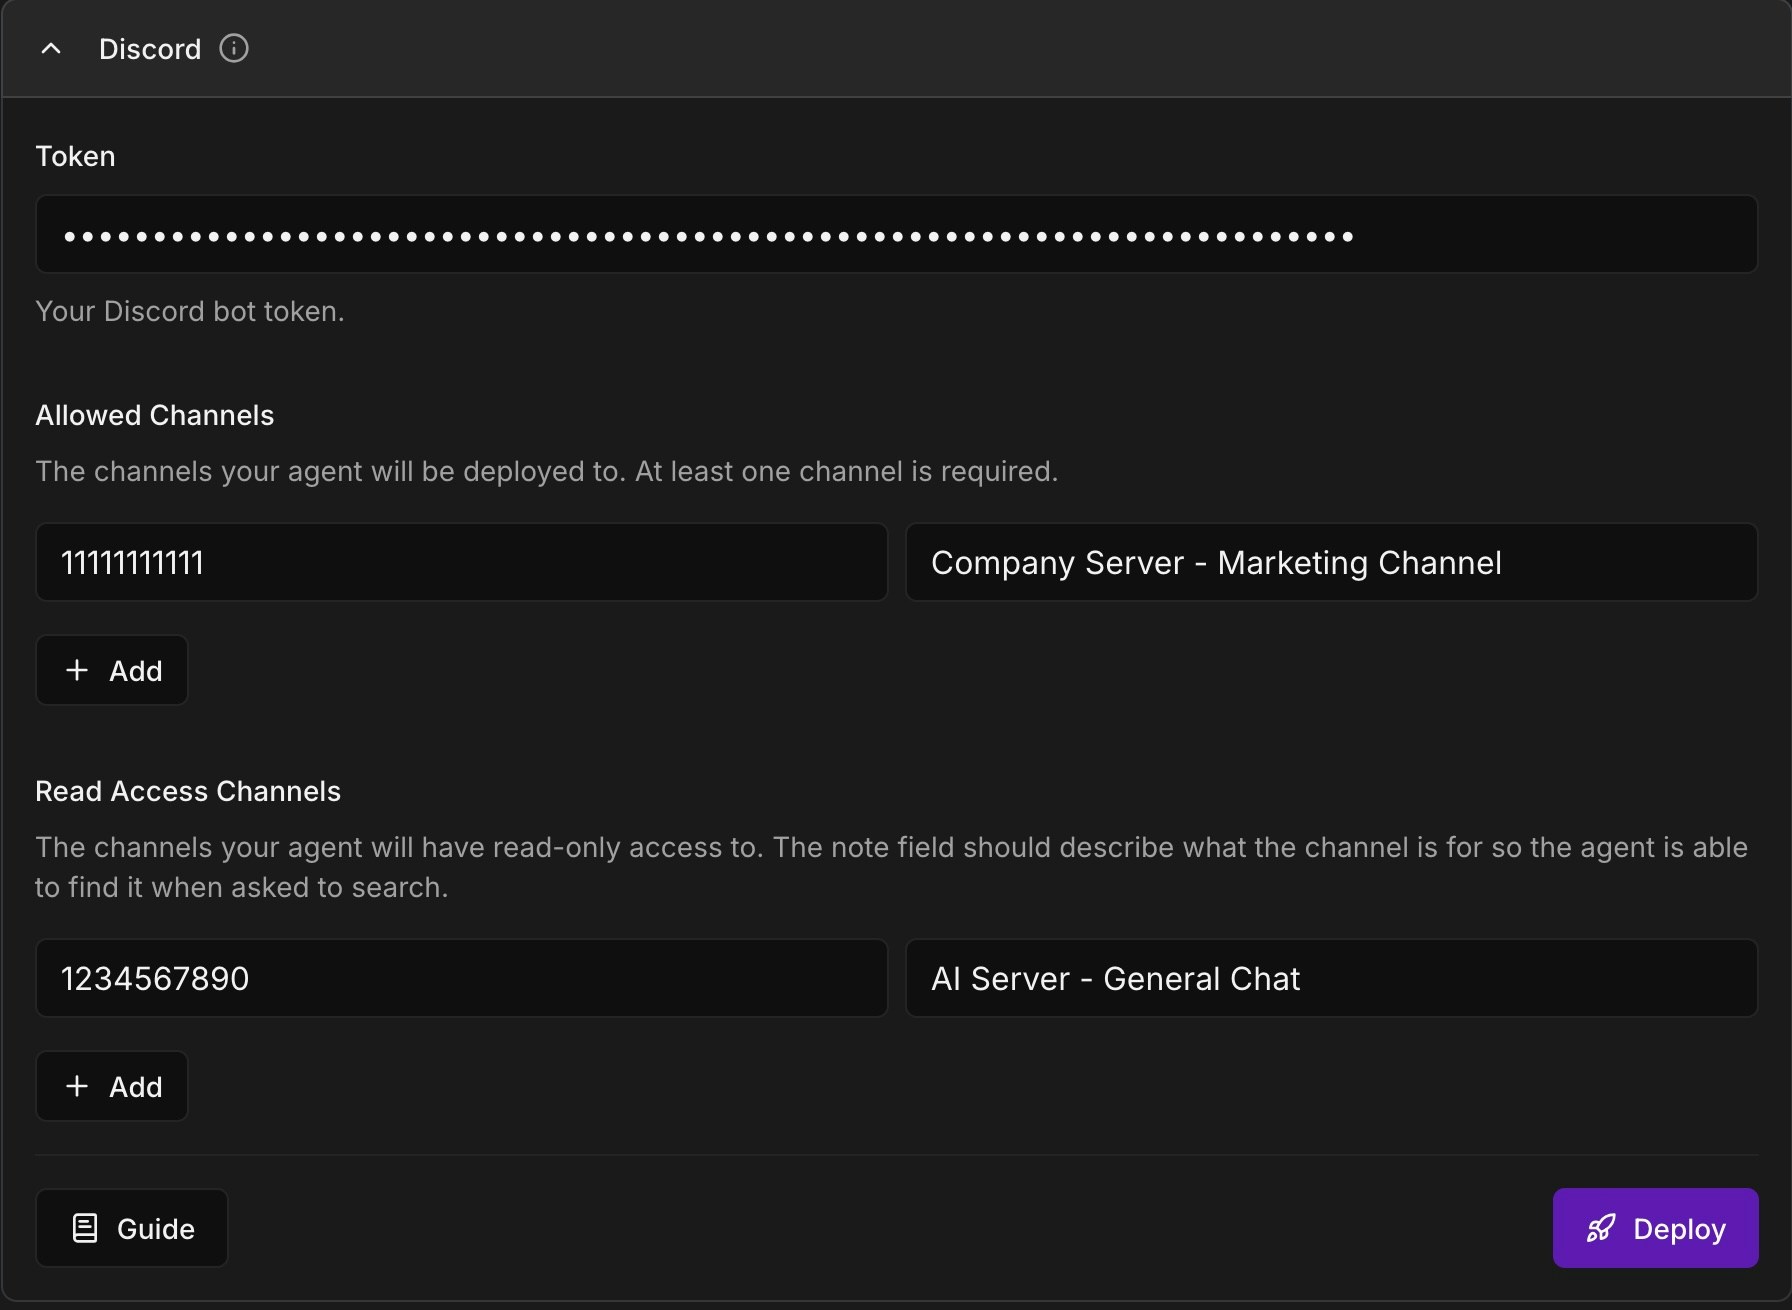
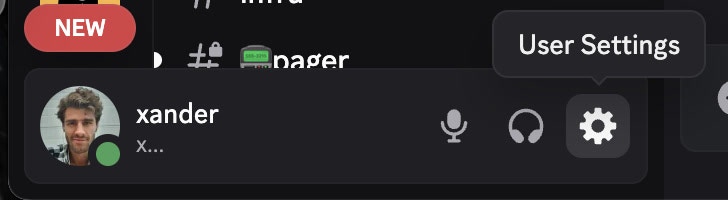
- Step 1: Open Settings
- Step 2: Enable Developer Mode
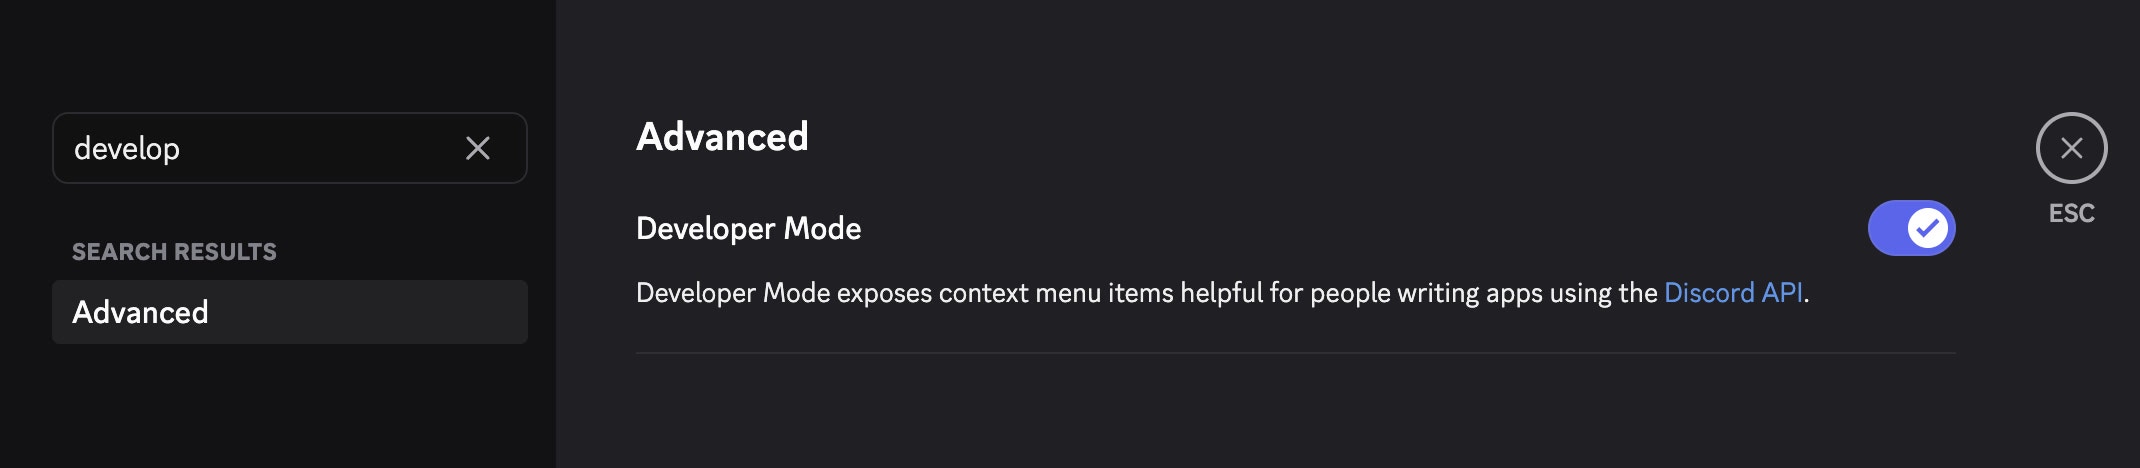
- Right-click any channel name in Discord
- Select “Copy Channel ID”
- Add the ID to “Allowed Channels” in Eden
- Add a label for the channel so you remember it

Alternatively, you can copy the channel URL, and the ID will be the last number in the URL. For example, if the URL is https://discord.com/channels/111111111/1234567890, the ID is 1234567890.
Testing Your Agent
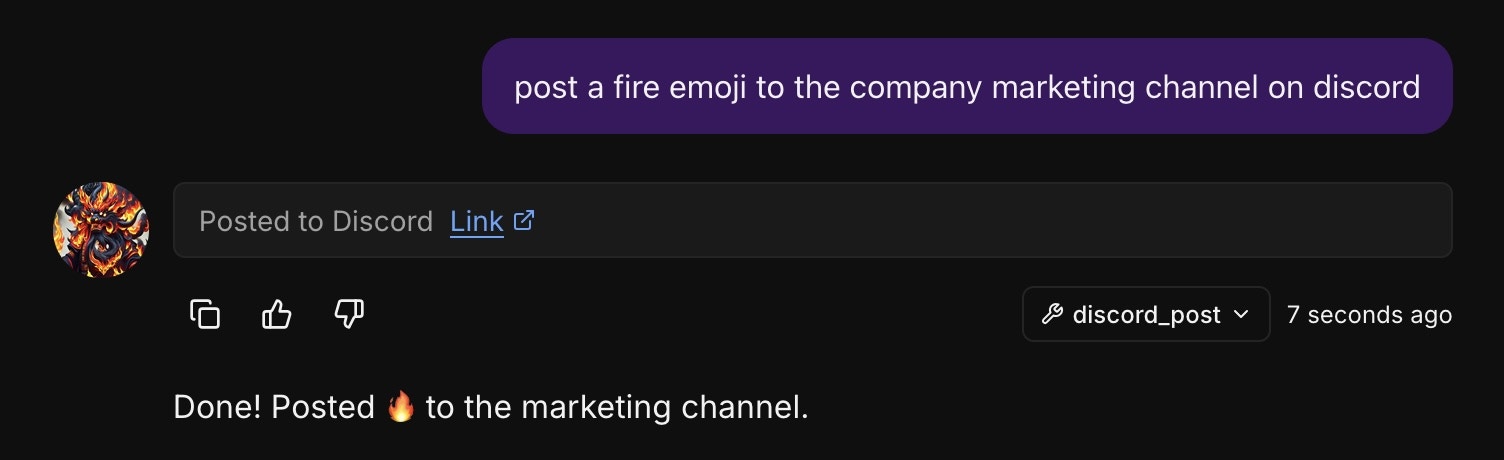
Go to one of the allowed channels and mention your bot in a message. If it responds, you’re all set!Using the Discord Tools
The following tools are available for your agent to use once it is deployed to Discord:discord_post- Post a message to a channeldiscord_search- Search for messages in a channel
Troubleshooting
Bot not responding
Bot not responding
Common issues:
- Check the bot has “Send Messages” permissions in the channel
- Verify the channel ID is in the allowed channels list
- Ensure gateway intents are enabled
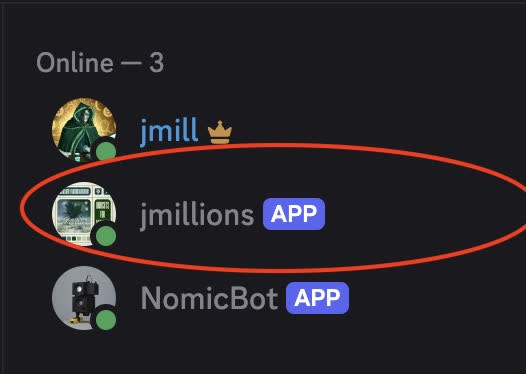
- Ensure the bot shows ‘online’ in the channels you are trying to get it to respond in. If the bot does not show in the sidebar and online, it does not have access to the channel.
Private channel setup
Private channel setup
For private channels, manually add the bot as a member: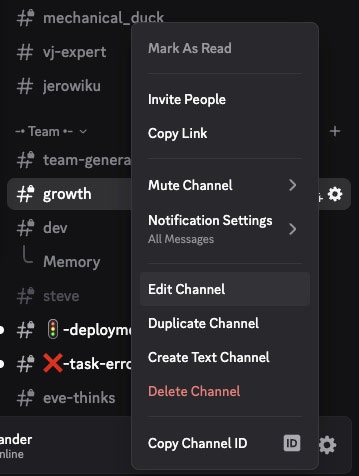
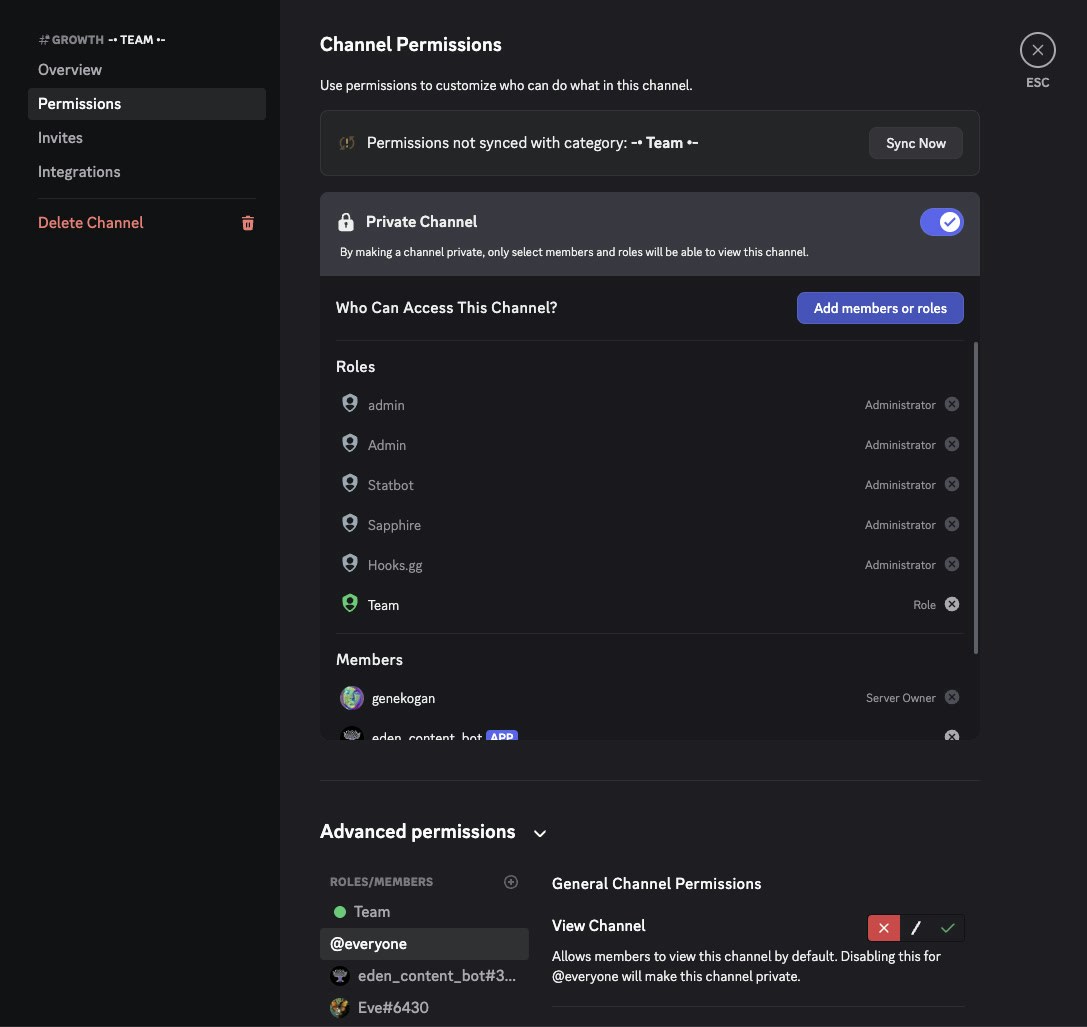
- Right-click the channel and click “Edit Channel”
- Go to Permissions → Add Members → Add your bot