
Prerequisites
Before setting up Shopify integration, you’ll need:- A Shopify store (either a paid plan or Shopify Plus)
- Admin access to your Shopify store
- Basic understanding of Shopify’s admin interface
Setup Process
Create a Private App
Log into Shopify Admin
Go to your Shopify store’s admin panel. If you need to create a new Shopify store:- Go to accounts.shopify.com
- Sign up and create a store
Create the app
- Click on Develop apps (or Manage private apps for older stores)
- Click Allow custom app development if not already selected
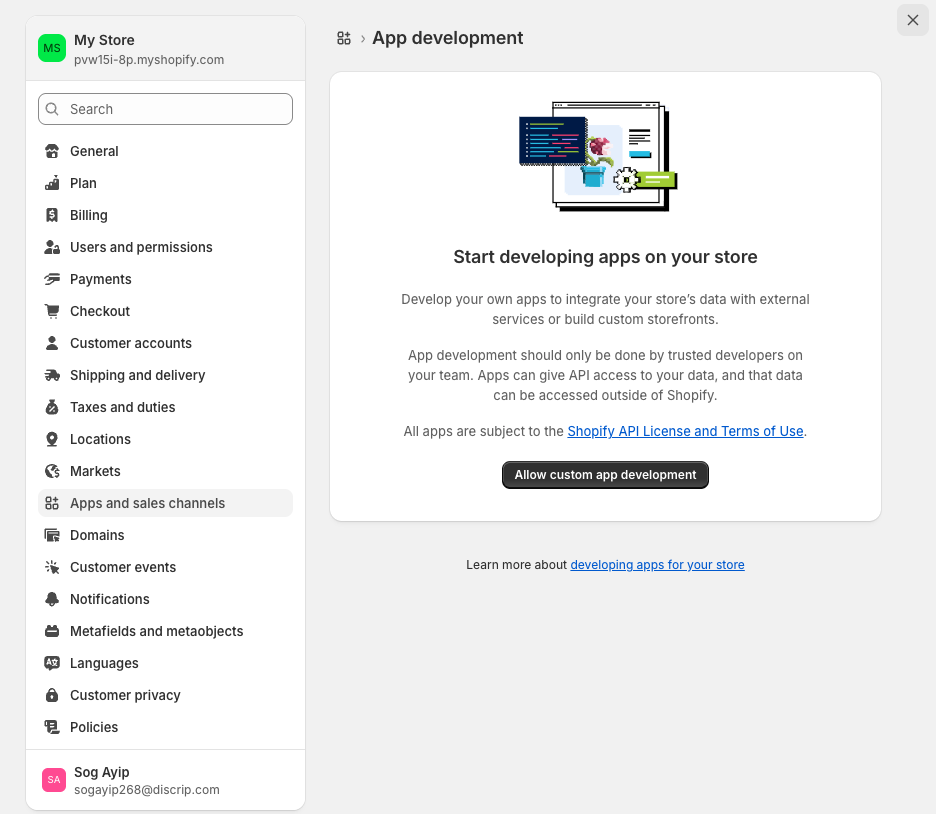
- Click Create an app
- Give your app a name (e.g., “Eden Integration”)
- Select your email as the developer email
- Click Create app
Configure Permissions
Set API scopes
- Click Configure Admin API scopes
- Enable the following permissions:
- Products:
read_products,write_products - Inventory:
read_inventory,write_inventory - Locations:
read_locations,write_locations - Publications:
read_publications,write_publications
- Products:
- Click Save
Install the app
- Click Install app to install it on your store
- Confirm the installation
You may need to close and reopen settings for the install button to enable.
Get Your Credentials
Access Token
After installing:- In your app’s overview page, find Admin API access token
- Click Reveal token once
- Copy immediately - you won’t see it again!
- The token should start with
shpat
Store Name
Your store name is the subdomain of your Shopify store.Example: For
mystore.myshopify.com, your store name is mystore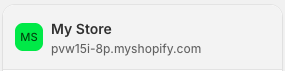
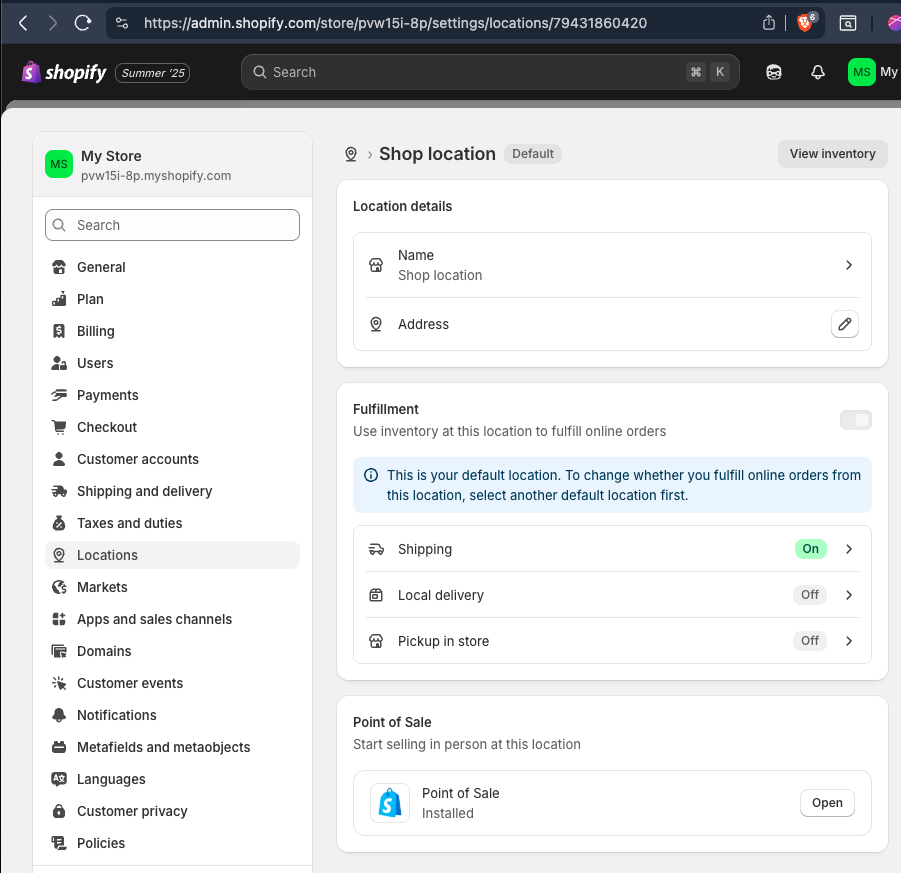
Location ID
- Go to Settings → Locations
- Select your primary location
- Note the Location ID from the URL (numeric value at the end)
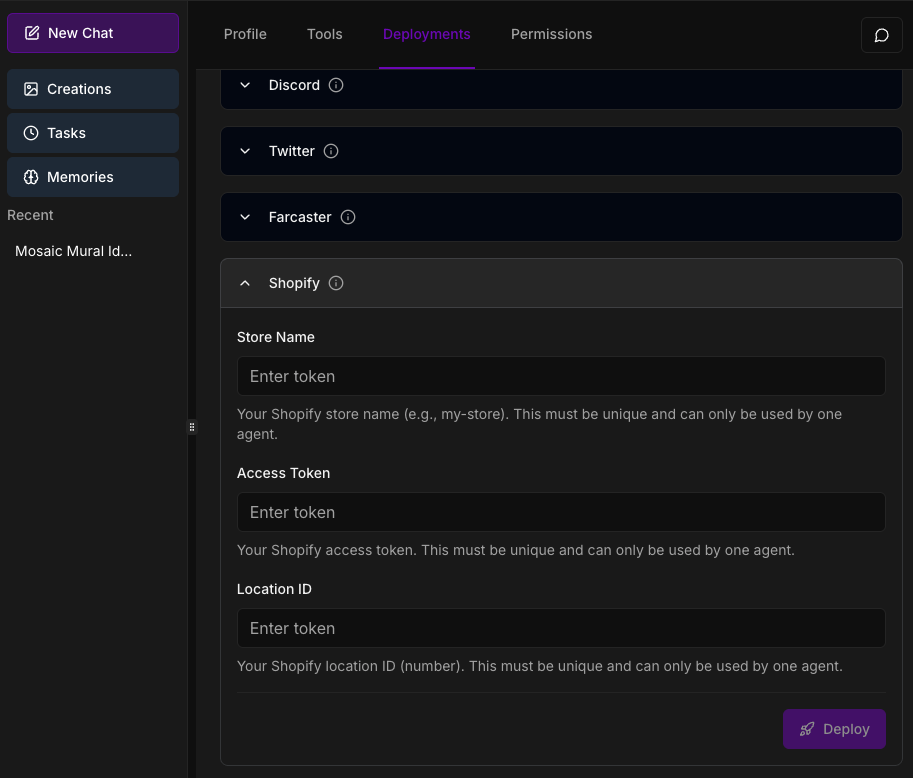
Usage
Once deployed, prompt your Agent to create a Shopify product!
Configuration Variables
Your store’s subdomain (e.g.,
mystore for mystore.myshopify.com)The Shopify API version to use (recommended:
2025-07)The admin API access token from your private app
The numeric ID of your primary location for inventory management
Enable debug logging for troubleshooting (optional)